


In modern interior fit-out, a single stainless-steel trim line can do what paint, caulk and silicone cannot: it terminates a material, hides a tolerance, and draws a sharp line of light across a wall or ceiling. This guide walks through the five profiles ARTDSN ships most often, the standard sizes, and the on-site installation decisions that determine whether a trim looks like a thoughtful detail or a tacked-on afterthought.
Edge and reveal trims are usually specified by cross-section rather than by product code. Knowing these five cross-sections covers roughly 90% of the trims you will see on a hotel, mall or residential project.
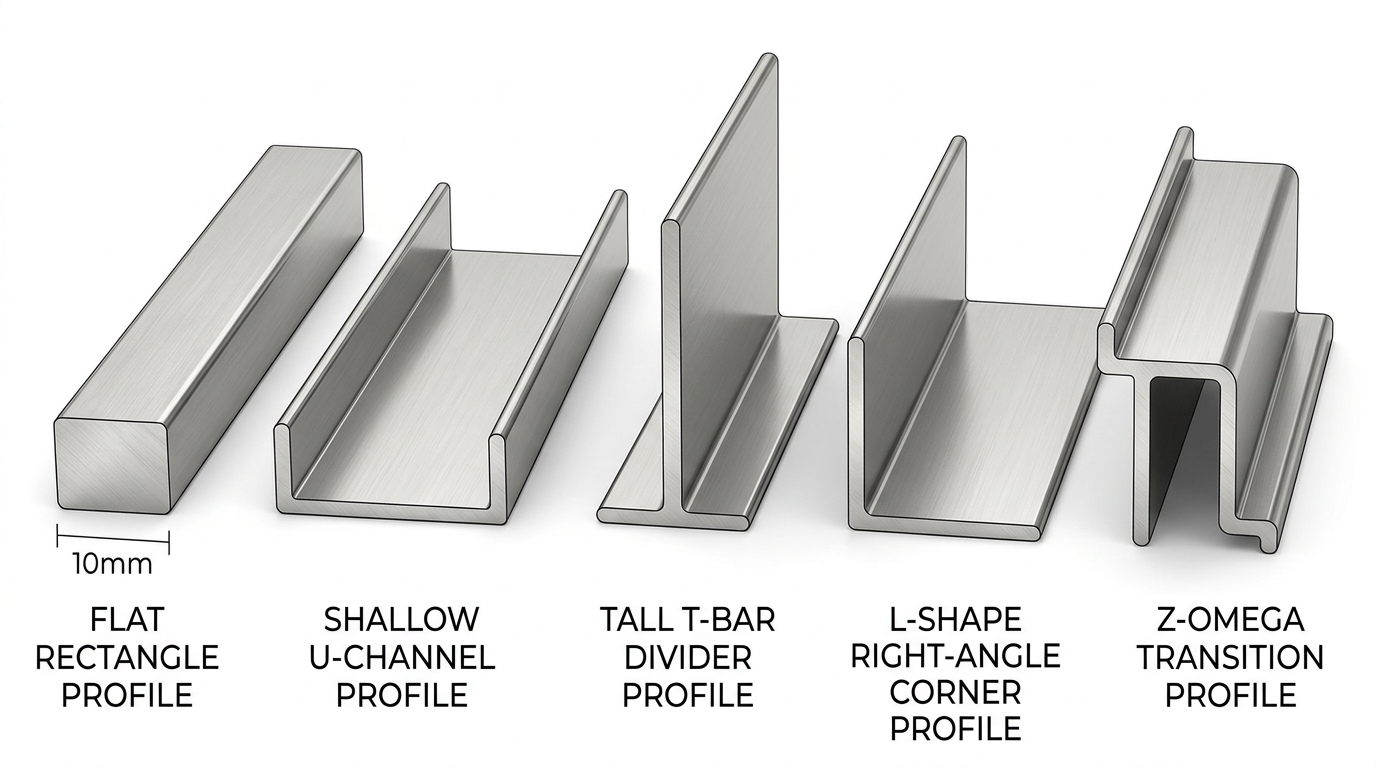
| Profile | Typical Visible Width | Stock Wall / Finish | Where You See It |
|---|---|---|---|
| Flat bar (rectangle) | 10 / 15 / 20 / 35 mm | 0.6–1.0 mm stainless, brushed or 8K mirror | Ceiling reveal grooves, wood-veneer panels, cabinet doors, wardrobe face frames |
| U-channel (equal legs) | 5 / 8 / 10 / 15 mm face | 0.5–0.8 mm stainless; can be PVD champagne / black | LED strip recesses, glass partitions, shower screen edges |
| U-channel (unequal legs) | face 8–25 mm, legs 5–20 mm | 0.6–1.0 mm stainless, brushed / hairline | Floor-to-wall transitions where the two surfaces are at different elevations |
| T-divider | 3 / 6 / 8 / 10 / 15 mm face | 0.8–1.2 mm stainless; embedded leg has serrations or barbs | Wall panel breaks, cabinet doors, back-painted glass joints, feature walls |
| Z / Omega transition | face 5–15 mm | 0.6–1.0 mm stainless, can be used either face-up or face-down | Wall-to-ceiling joints, plasterboard to wood-veneer transitions, reveal shadows |
| L-corner | 10 / 15 / 20 / 25 / 30 mm each leg | 0.6–1.2 mm stainless; inside or outside corners | Tile outside corners, column wraps, bath & vanity edges, stone reveals |
On the ceiling, a trim can sit flush with the gypsum board (embedded) or stand proud of it (protruding). The two methods behave very differently on site.
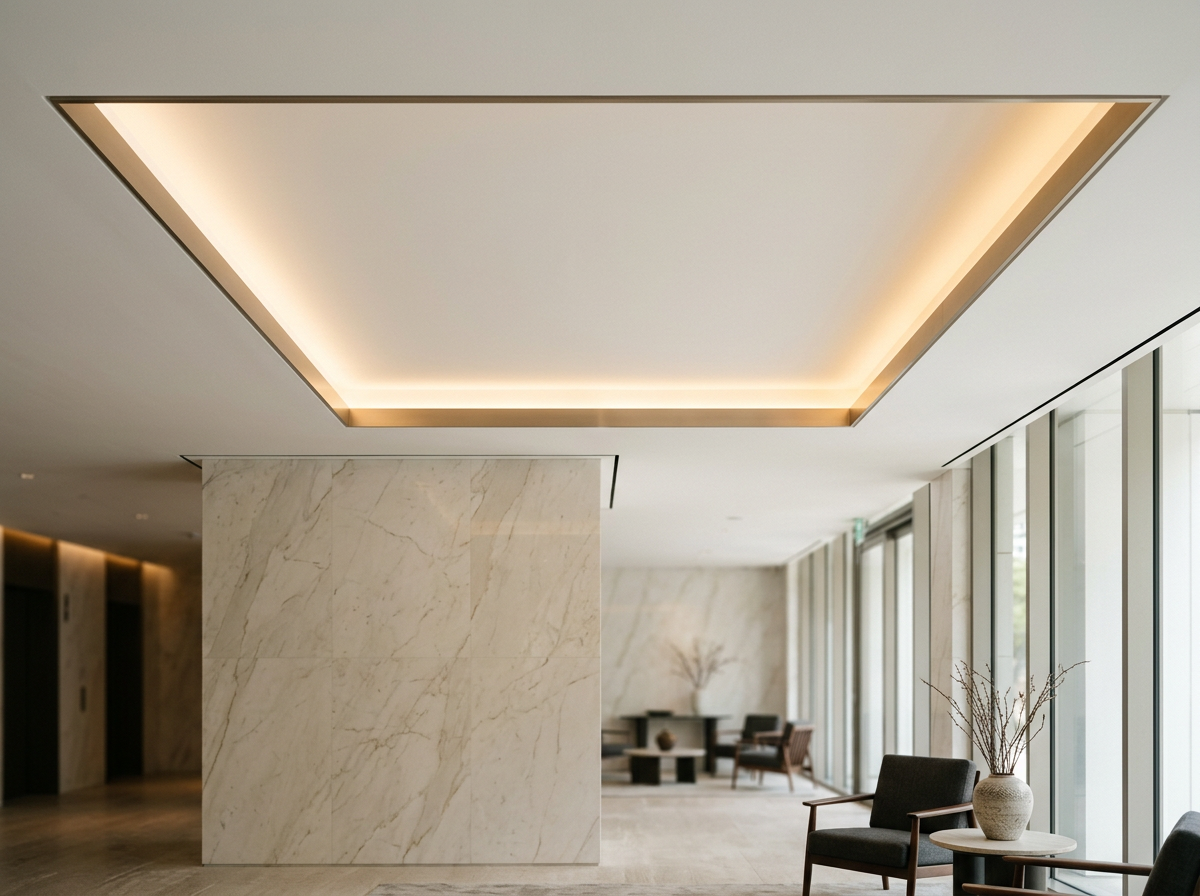
An embedded trim finishes flush with the ceiling plane. The carpenter routs a channel 7–9 mm deep (one gypsum-board thickness) and 20 mm wide, fixes a wood batten inside, then glues and tapes the metal into the slot. The reveal looks like a printed line.
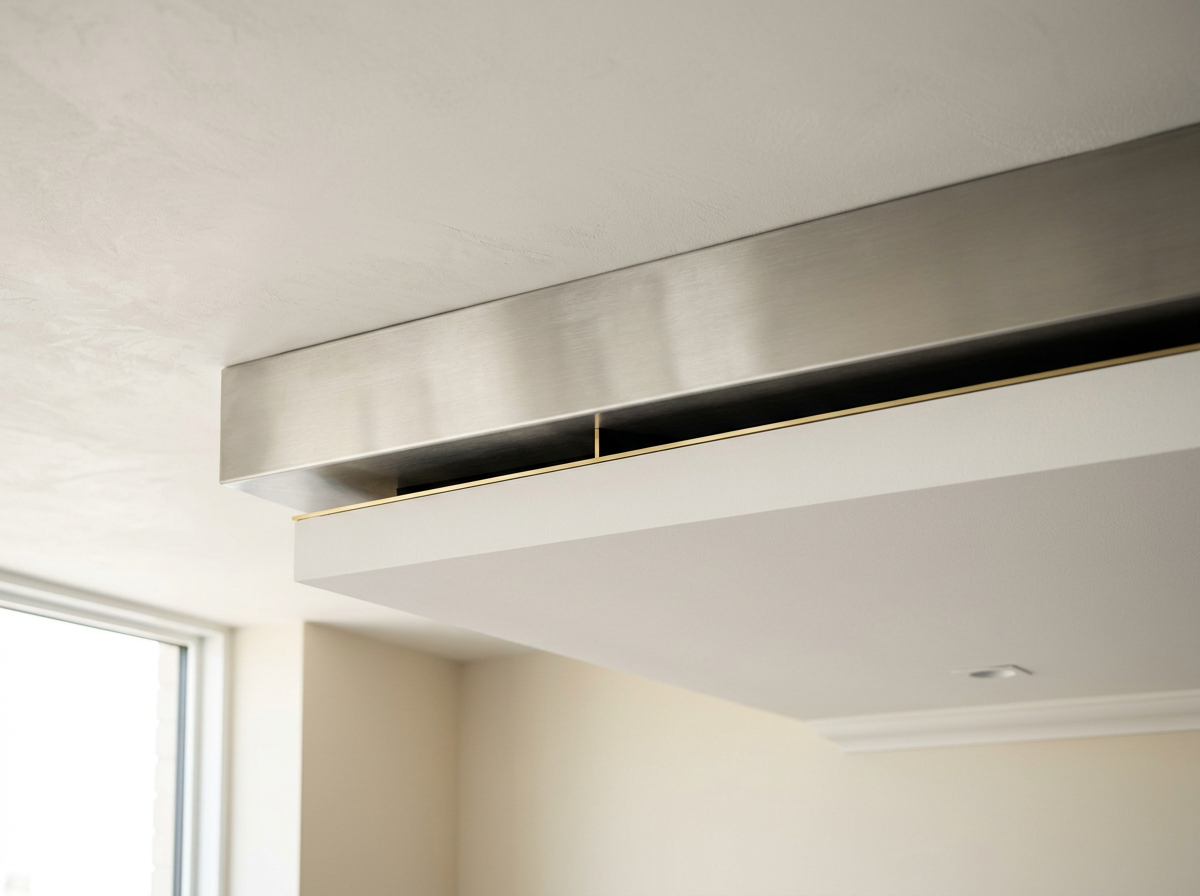
A protruding trim is bonded onto the finished ceiling. A batten 3–5 mm narrower than the trim is fixed first; the metal is then glued over it. The batten creates the air gap behind, the protruding leg catches a hard shadow, and any ceiling waviness is hidden by the raised edge.
| Aspect | Embedded reveal | Protruding trim |
|---|---|---|
| Final visual effect | Hairline line, ceiling reads as one plane | Cast shadow, trim reads as a discrete element |
| Tolerance to wavy ceilings | Low — any deviation shows | High — the batten absorbs the undulation |
| Substrate requirement | Batten required when width > 15 mm | Batten always required (3–5 mm narrower) |
| Best finish choice | Brushed / hairline, 8K mirror if clean substrate | Brushed, PVD champagne, black titanium |
| Typical use | Modern minimalist ceilings, cove lighting edges | Drop-ceiling breaks, feature ceilings, retrofits |
On a wall, the trim has to (i) protect the corner from chipping, (ii) hide the joint between two different materials, and (iii) read as a deliberate line. The exploded section below shows the four layers the installer builds on site.
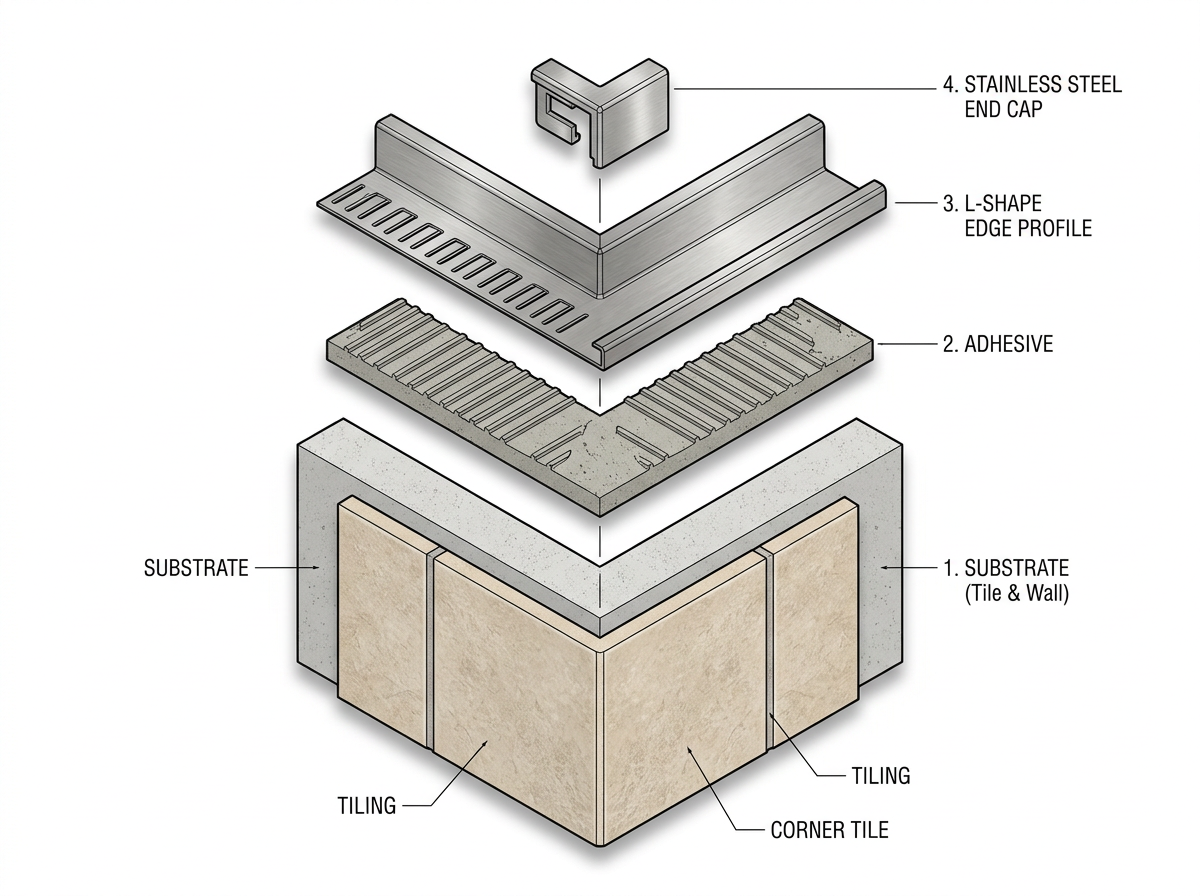
| Wall Situation | Recommended Profile | Install Sequence | Critical Detail |
|---|---|---|---|
| Tile outside corner | L-profile, both legs 10–25 mm | Tile → adhesive bed → L-trim → end cap | Trim depth must equal tile + adhesive thickness (typically 10–12 mm) |
| Wood-veneer panel joint | Flat bar 10–15 mm, or T-divider 6 mm | Cut groove 5 mm deep → glass glue → press trim → tape 12 h | Tape immediately, leave 24 h before removing — premature removal causes spring-back |
| Wall-paint to wall-paper break | Flat bar or U-channel | Install trim BEFORE the painter primes; painter covers the trim’s side leg | Never install over finished paint — the side leg will read as a white halo |
| Cabinet door inlay | T-divider 6 mm, serrated leg | 5 mm groove → glass glue → tap-in trim | Serrations bite into the glue and resist pull-out over time |
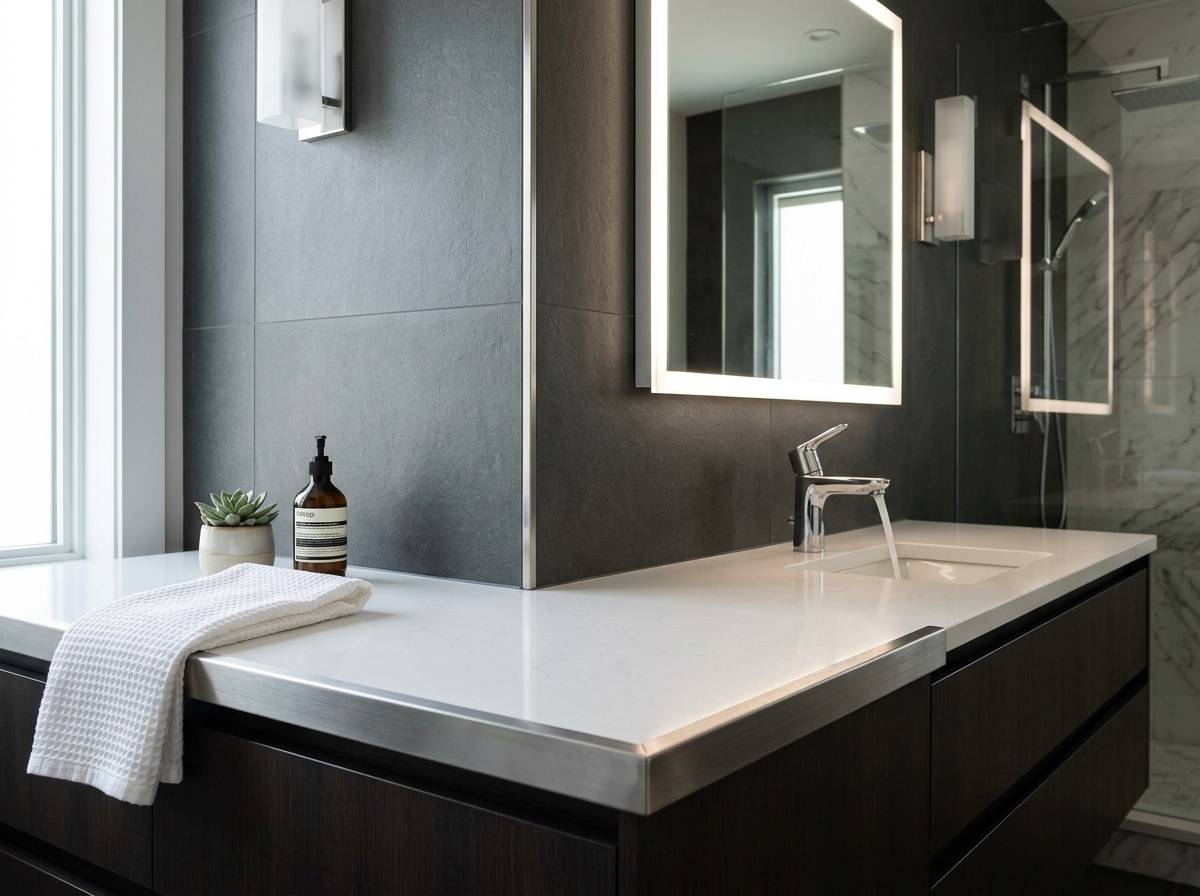
| Bath / vanity edge | L-profile in 304 stainless, both legs 15–25 mm | Tile → trim sits on tile edge → silicone joint to countertop | Specify 304 stainless minimum; 201 will rust at the silicone interface within 2–3 years |
Stainless steel can be roll-bent to a minimum radius of about 60 mm for 0.8 mm material, and tighter for thinner gauges. ARTDSN routinely fabricates curved trim for curved ceilings, arched doorways, and feature-wall reveals. Plan for a 15–25 % price premium over straight lengths because the bending setup, welding of the inside curve, and polishing all add labour.
Kitchens, bathrooms, swimming-pool surrounds and exterior facades expose the trim to chlorides, cosmetics and cleaning acids. Choose the steel accordingly.
| Environment | Recommended Grade | Finish | Notes |
|---|---|---|---|
| Dry interior (ceiling, feature wall, wardrobe) | 201 or 304 | Brushed / 8K mirror / PVD | 201 is acceptable; PVD colour holds up to fingerprints better than raw mirror |
| Kitchen (splashback, counter edge) | 304 | Brushed satin or hairline | Avoid raw mirror — it shows every water spot |
| Bathroom (vanity, shower screen edge) | 304 minimum, 316 for coastal | Brushed satin | Specify snap-in / clip-in mounting so the silicone joint is renewable |
| Swimming pool / spa surround | 316 | Brushed or electropolished | Chlorides attack 304 aggressively; budget 30–40 % over standard 304 |
| Exterior facade | 316 | Brushed + clear lacquer or PVD | Lacquer adds 2–3 years before re-application in urban pollution |
| Mistake | What Goes Wrong | How to Avoid It |
|---|---|---|
| Specifying the trim after the tiles are fixed | Trim leg is the wrong depth; trim floats above the surface | Decide trim profile and leg depth at the drawing stage, not on site |
| Skipping the wood batten on a wide embedded trim | Trim flexes when walked on for ceiling maintenance | Any trim wider than 15 mm needs a continuous batten behind it |
| Installing the trim over wallpaper or paint | White wall paint shows along the side leg of the trim | Trim goes in before final paint; the painter covers the side leg |
| Using 201 stainless in a bathroom | Rust blooms at the silicone joint within 2–3 years | Specify 304 minimum for any wet area |
| Mitre joints welded on site | Visible heat tint and grain mismatch on mirror finishes | Factory-mitre and TIG-weld, then full re-polish in the workshop |
| Random-length stock on a 6 m run | Mid-run butt joints that read as bright stripes under raking light | Confirm maximum single-piece length with the factory before ordering |
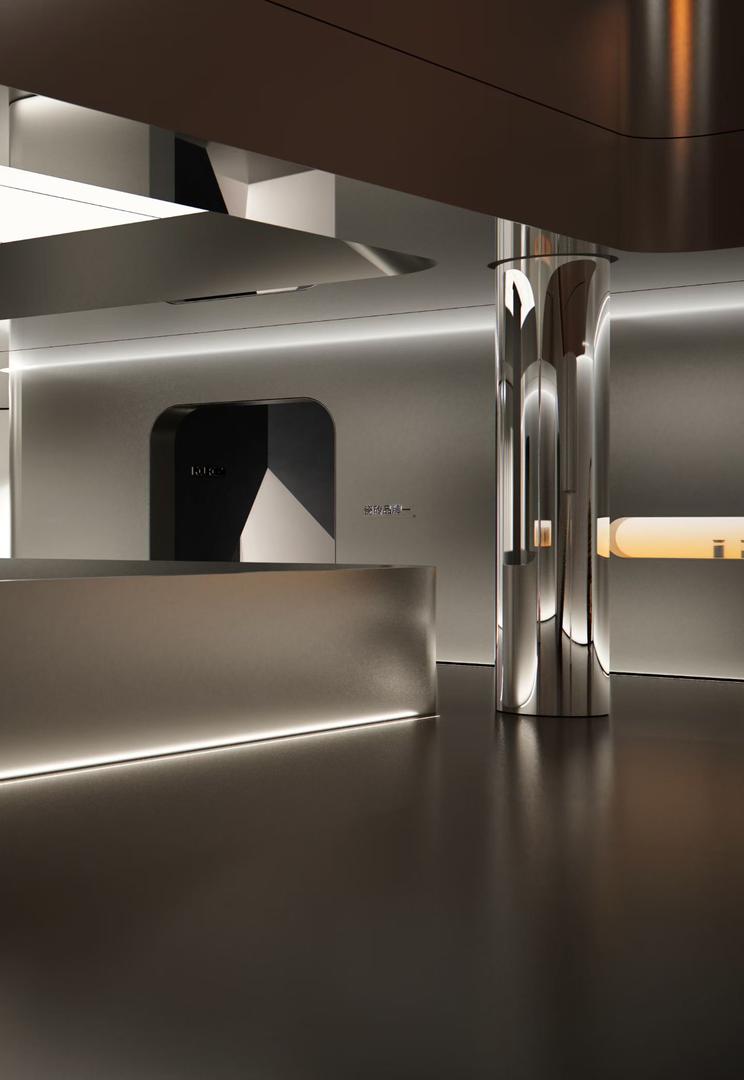
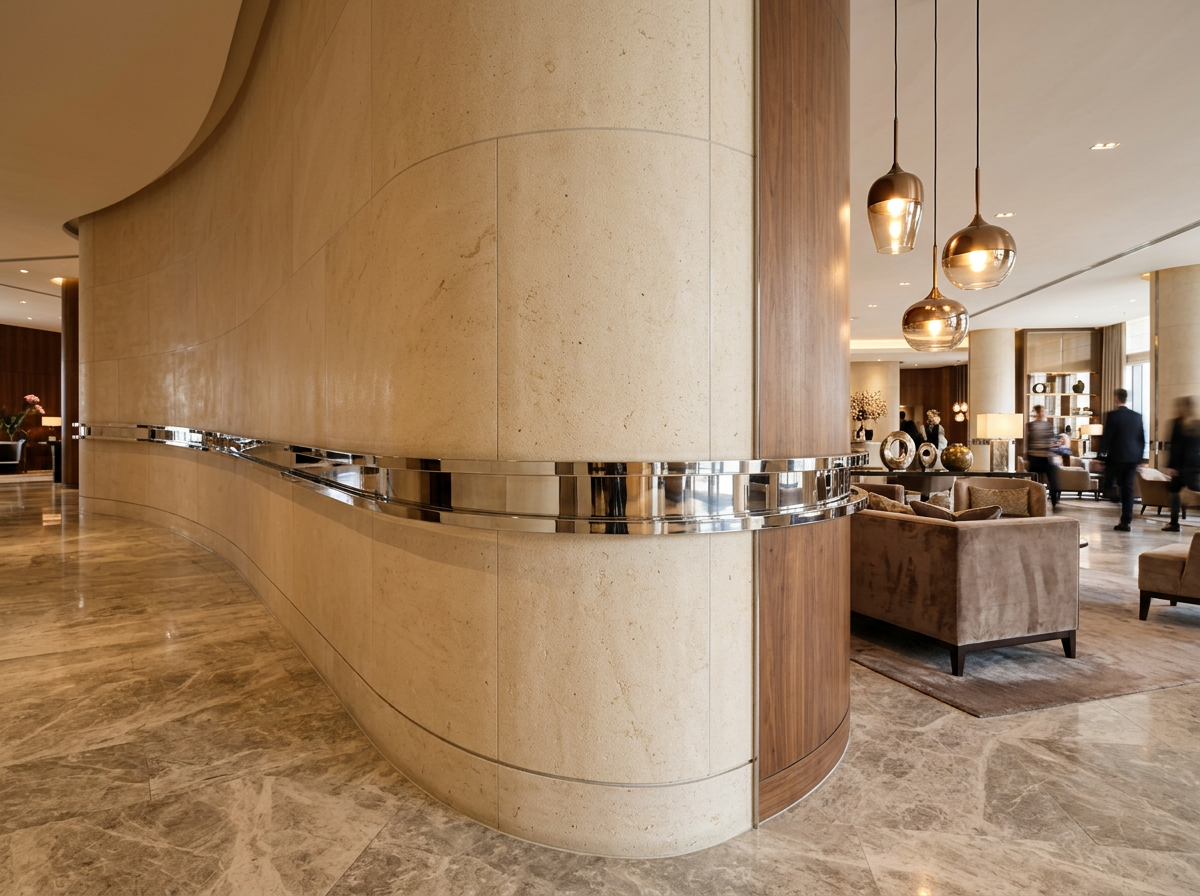
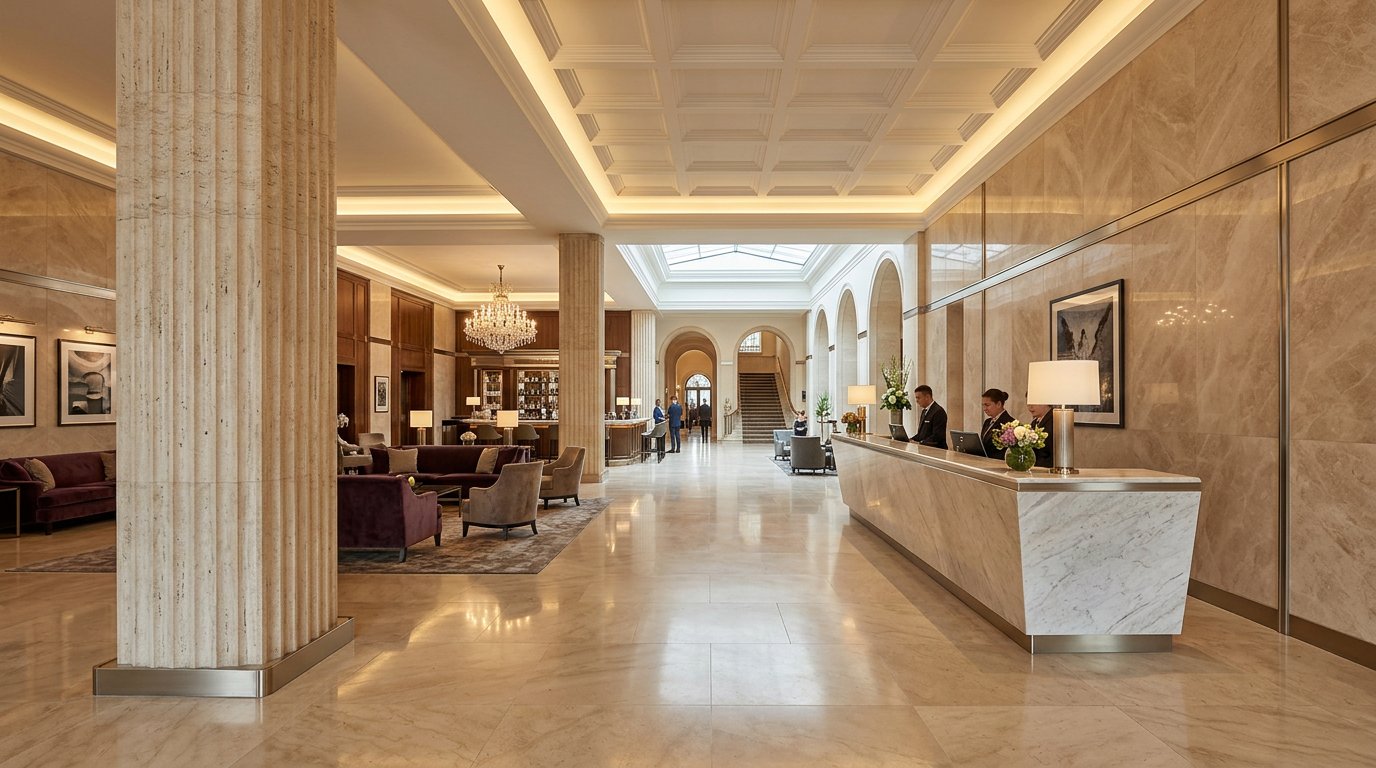
A real lobby is rarely just one profile. In the image below you can see a U-channel protecting the base of the full-height travertine column on the left, an L-profile wrapping the marble reception desk edge, and a T-divider breaking the wall-to-ceiling line behind the desk — three different profiles doing three different jobs in the same room.
ARTDSN supplies all five profiles above in 201, 304 and 316 stainless, in stock finishes (brushed satin, hairline, 8K mirror, PVD champagne bronze, PVD black titanium) and any custom RAL tone for project orders above 300 m. We factory-mitre corners, TIG-weld joins, and re-polish so that on-site, the trim only needs to be glued and taped into position. artdsn.com carries the full cross-section catalogue and ships flat-pack with corner protectors to most ports in 12–18 days.
Need a takeoff for an upcoming hotel fit-out? Send the reflected-ceiling plan and the wall elevations to our project team — we will return a marked-up layout showing profile, length per run, and joint locations within 48 hours.