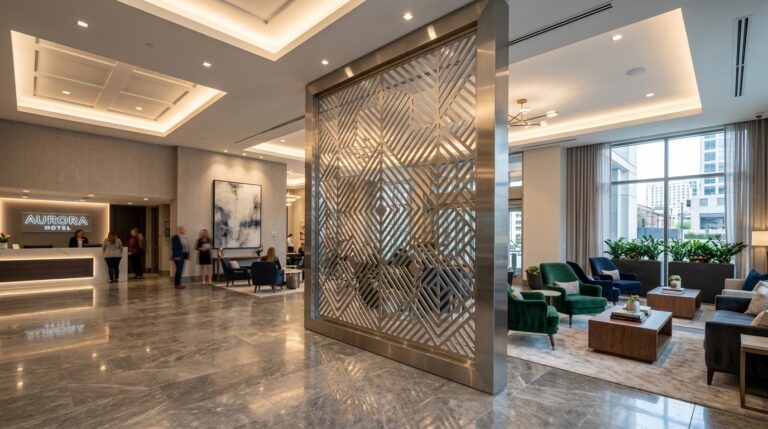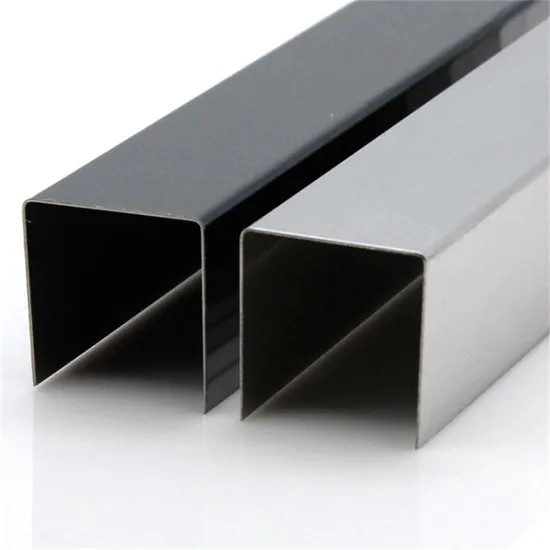

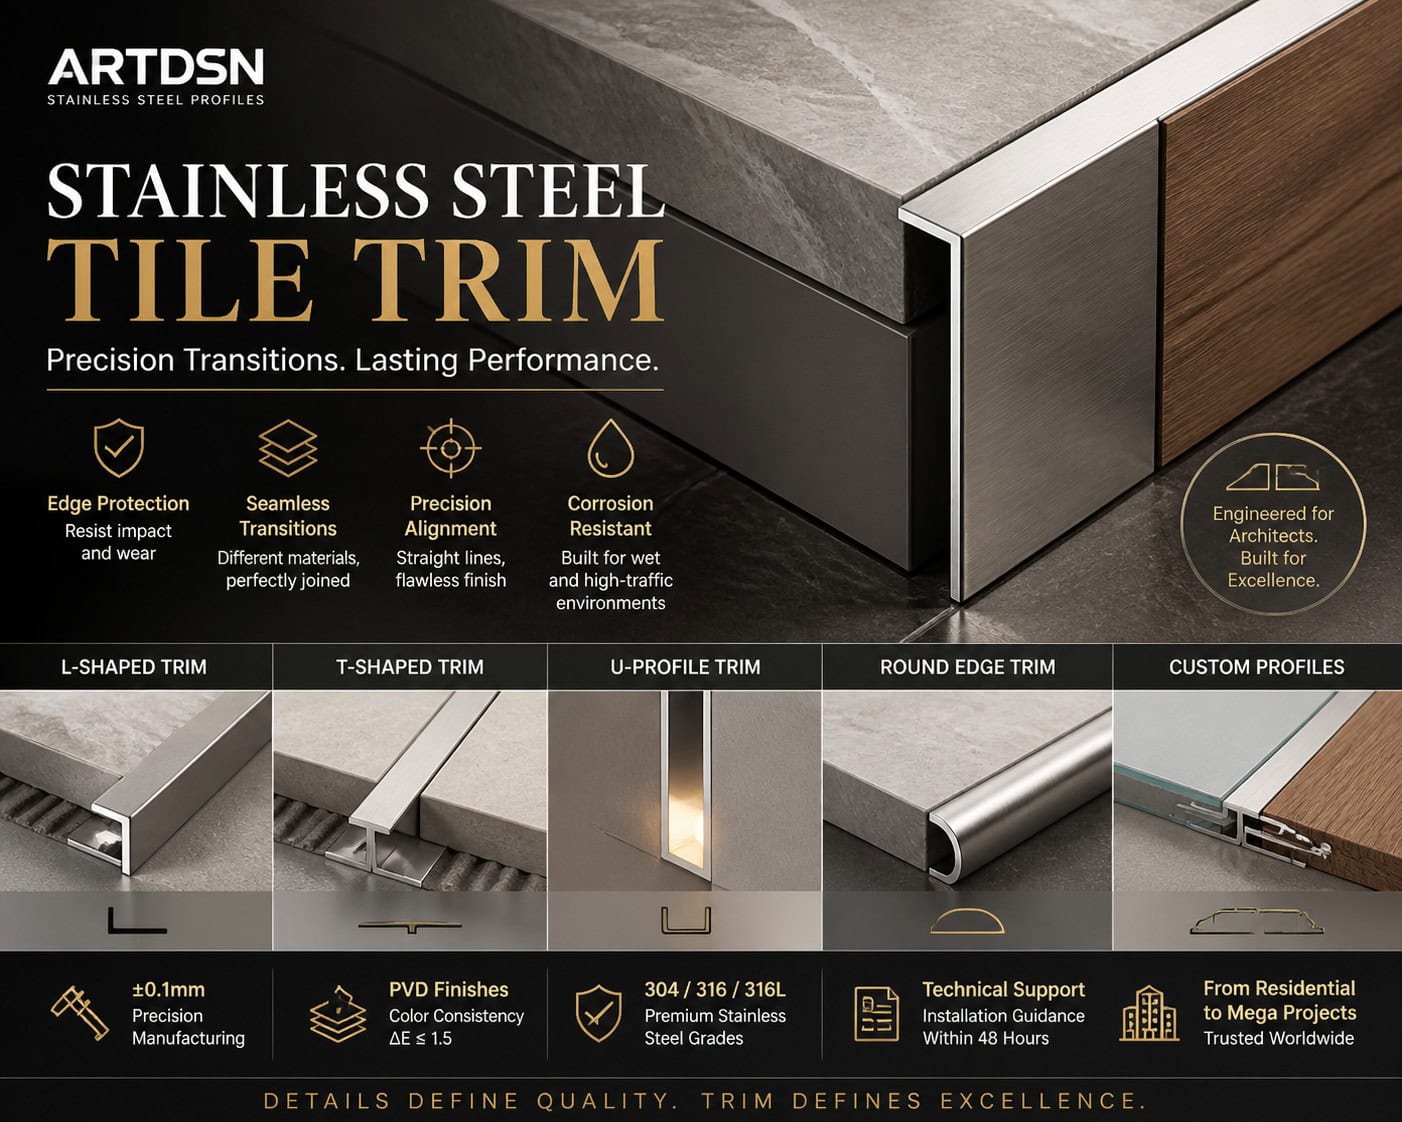
Stainless steel tile trim and metal decorative profiles are the unsung heroes of premium interior installations. While tile and stone dominate visual attention, it is the metal trim that determines whether a project feels meticulously engineered or merely assembled. ARTDSN manufactures a full spectrum of stainless steel tile trim profiles — L-shaped, T-shaped, U-shaped, and round edge trims — engineered to deliver clean material transitions in residential, commercial, and civic environments. This guide covers everything from pre-installation planning to final quality verification.
Every architect and contractor has encountered the same recurring problem: Visual defects and structural hazards caused by improper handling of the intersection of stone and wood. In premium projects, clients and designers expect seamless transitions between disparate materials. ARTDSN’s stainless steel trim profiles solve this at the structural level:
Before any adhesive is applied, a structured pre-installation workflow prevents costly rework:
1. Surface Condition Assessment Verify substrate flatness with a 2-meter spirit level. For floor applications, check for humps, dips, and cracks. Uneven substrates must be ground or levelled before trim installation. For wall applications, ensure plaster or render has fully cured — shrinkage cracks will telegraph through to the trim line.
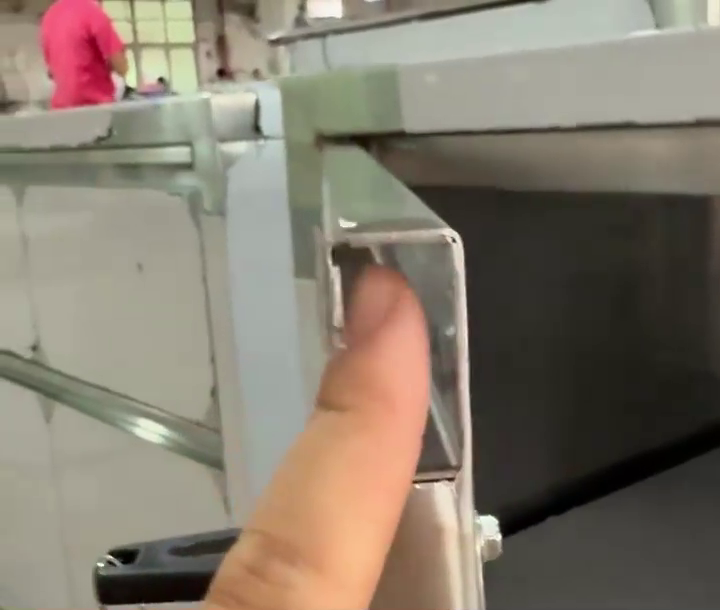
2. Dry-Fit Verification (Non-Negotiable) Place trim profiles in position without adhesive. Check:
3. Material Compatibility Check Different adhesive chemistries suit different substrates:
4. Environmental Conditions Do not install trim in temperatures below 5°C or above 35°C. Relative humidity should remain between 30% and 80%. Extreme conditions affect adhesive cure and trim dimensional stability.
L-shaped trim is the most common floor transition profile. It protects the exposed edge of floor tile or stone from chipping while providing a clean visual boundary.
Installation Steps:
Critical Detail: Never install trim with a gap smaller than 2mm from the floor tile — the adhesive needs space to cure without squeeze-out creating an uneven line.
T-shaped trim divides large tile fields and accommodates differential thermal movement between different tile formats or materials.
Installation Steps:
ARTDSN’s T-shaped trim features a 1.5mm center fin with reinforced anchor legs on both sides, designed to sit flush with standard 10–12mm tile thicknesses. For thicker stone (20mm+), specify ARTDSN’s heavy-caliber T-profile series.
U-shaped profiles create recessed lighting channels, decorative inlays, and panel integration lines in wall applications.
Installation Steps:
For projects where stone tiles meet wood or glass panels, ARTDSN manufactures custom cross-section profiles that transition three or more materials in a single extrusion. These require detailed shop drawings and CNC-machined mounting brackets.
Ceiling installations present unique challenges: long spans, thermal cycling from recessed lighting, and vibration from HVAC systems.
Recommended Practices:
Before sign-off, every trim installation must pass the following verification:
| Check Item | Standard | Tool |
|---|---|---|
| Alignment deviation | ≤ 1mm over 2 meters | Spirit level + straight edge |
| Gap consistency between trim sections | 1–2mm, evenly distributed | Feeler gauge |
| Adhesive bond (tug test) | No displacement | Manual pull test |
| Surface cleanliness | No adhesive squeeze-out, no scratches | Visual inspection |
| Corrosion compatibility | No reaction with adjacent materials | Material data sheet review |
| Fixing clip engagement (if used) | All clips seated and locked | Physical inspection |
1. Trim Edge “Lip” Rising Above Tile Surface Cause: Adhesive applied incorrectly, pushing trim upward. Fix: Apply adhesive only to the anchoring legs, not beneath the visible edge. Use clips during cure to maintain position.
2. Seam Visibility on Long Runs Cause: Expansion gaps not distributed evenly. Fix: Pre-mark expansion joint positions before installation. Use color-matched sealant in joints rather than leaving exposed gaps.
3. Trim Discoloration Near Wet Areas Cause: Chloride accumulation (common in bathrooms and pool areas) degrading the passive layer. Fix: Specify 316L stainless steel with electropolished finish for wet-area applications. Clean regularly with pH-neutral stainless steel cleaner.
4. Wood Substrate Delamination at Trim Interface Cause: Rigid adhesive bonding trim to wood that expands/contracts seasonally. Fix: Use flexible polyurethane adhesive with minimum 200% elongation at break. Never use rigid epoxy in wood-to-metal joints.
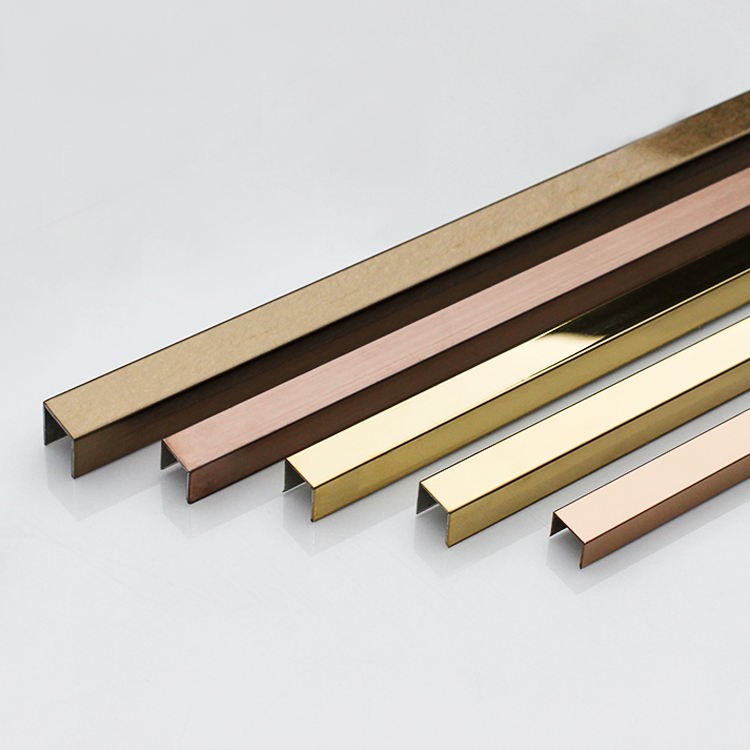
| Profile Type | Primary Application | Material Grade | Available Finishes |
|---|---|---|---|
| L-Shaped Trim | Floor edge, stair nosing | 304 / 316 | Brushed, Mirror, PVD color |
| T-Shaped Trim | Tile field divider, movement joint | 304 / 316 | Brushed, Mirror |
| U-Profile | Recessed lighting, wall inlay | 304 | Brushed, Mirror |
| Round Edge Trim | Countertop backsplash, furniture edge | 304 | Brushed, Mirror, Satin |
| Custom Cross-Section | Multi-material transition | 304 / 316 / 316L | Per project specification |
A premium stainless steel trim installation is the difference between a project that feels complete and one that feels considered. Every detail — the adhesive choice, the expansion joint spacing, the material grade — compounds into the final impression of quality. ARTDSN’s tile trim and metal decorative profiles are manufactured to tolerances of ±0.1mm, with PVD coloring achieving color batch consistency of ΔE ≤ 1.5 across all finishes. From a single residential bathroom renovation to a 50,000-linear-meter commercial façade project, our technical team provides installation guidance drawings within 48 hours of drawing submission.