Get in Touch Name Company Email Phone Number Project Type (e.g., Tile Trim, Skirting, Custom Profile) Message/Requirements SEND MESSAGE
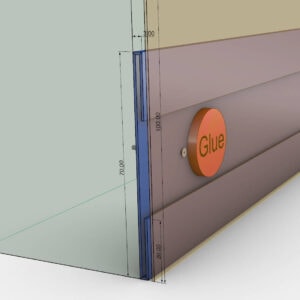
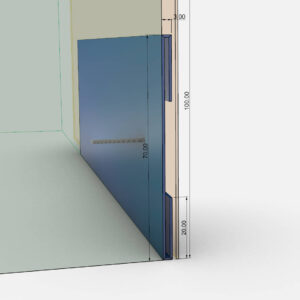
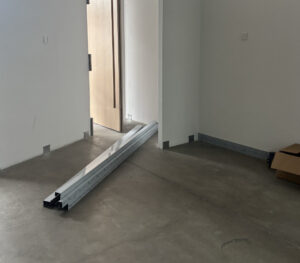
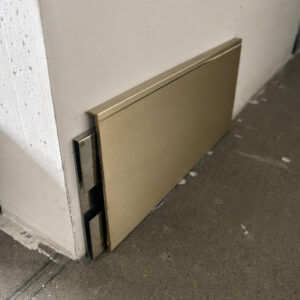
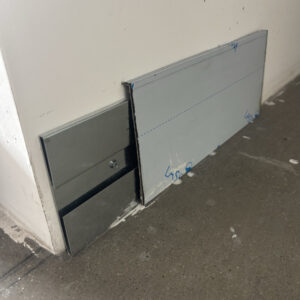
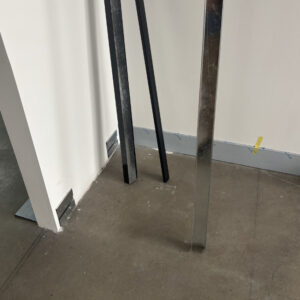
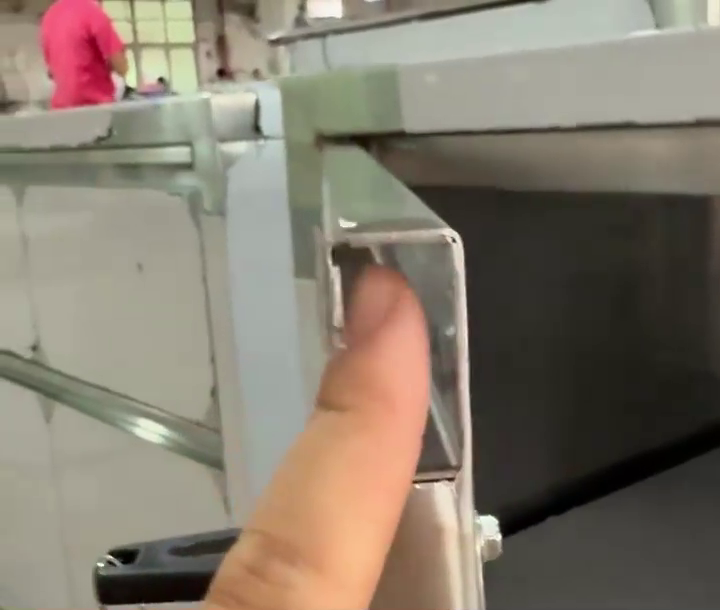
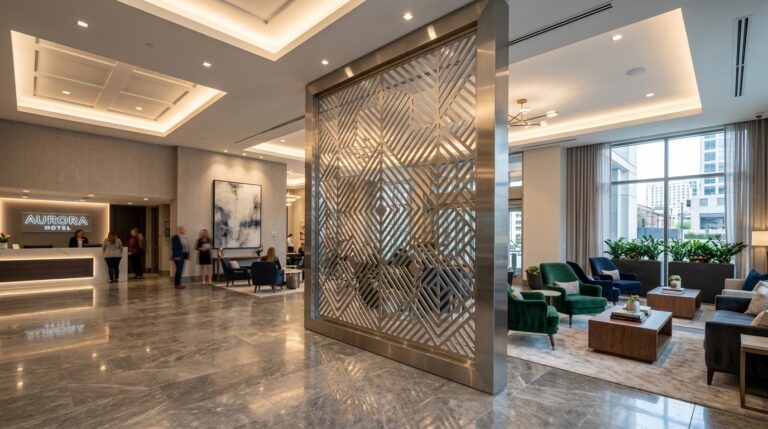
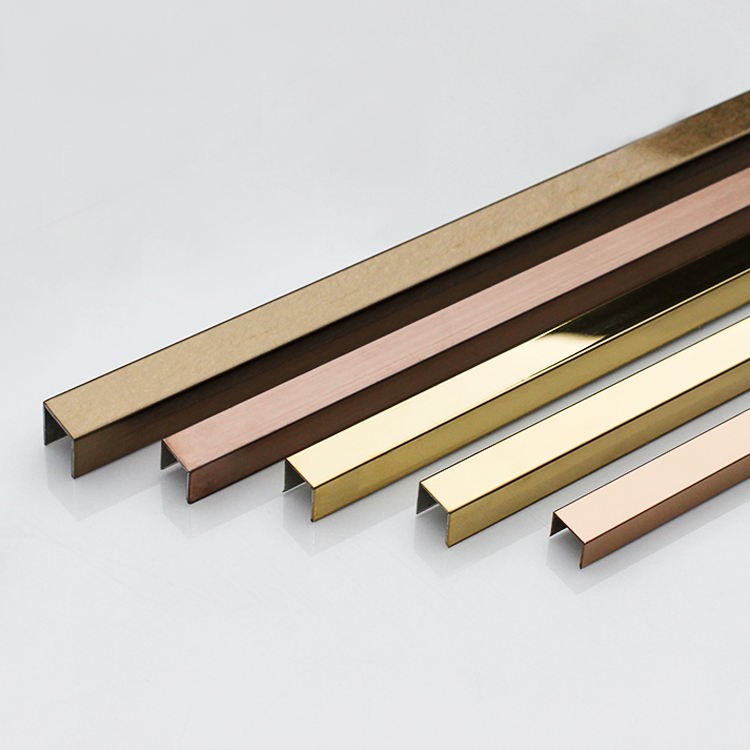
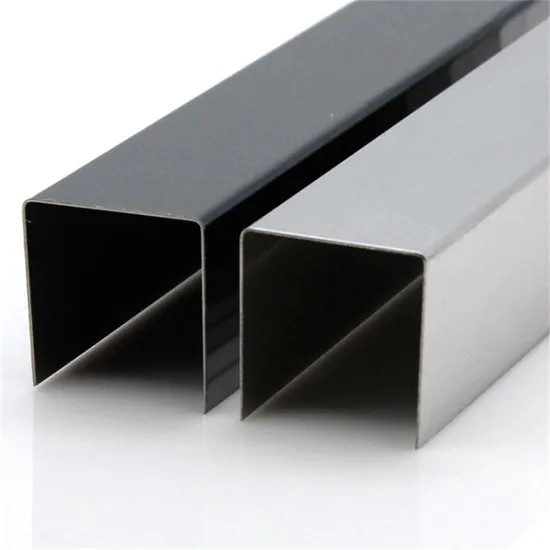
Installation Guide for Champagne Gold Stainless Steel Wall Skirting Board 1. Wall Surface Preparation Remove any protruding concrete, debris, or loose material from the wall base where the skirting will be installed Check wall straightness using a level; maximum gap tolerance should not exceed 3mm Smooth out any uneven protruding sections on the wall surface Fill in any wall grooves or depressions to ensure a flat mounting surface Clean the wall thoroughly and ensure it is dry and dust-free 2. Mounting Bracket Installation Position the drilling template against the wall at the desired skirting height Use an impact drill to create mounting holes at regular intervals (typically 400-600mm spacing) Insert plastic wall anchors or expansion plugs into each drilled hole Attach mounting clips/brackets to the wall using screws, ensuring all clips are aligned at the same height Use a level or laser line to verify all brackets are on the same horizontal plane (tolerance: ±1mm) 3. Skirting Board Preparation Measure wall lengths accurately and cut the stainless steel skirting boards to size For corners, cut boards at 45-degree angles for clean mitered joints Deburr all cut edges to prevent sharp surfaces Remove protective film from the back surface of the skirting board (the side that contacts the wall) Keep protective film on the visible champagne gold surface until installation is complete 4. Skirting Board Installation Align the skirting board with the pre-installed mounting clips Press firmly and snap the board onto the clips, ensuring secure engagement along the entire length Install corner connectors and joint covers at seams and angles for a seamless finish Check that the skirting sits flush against both wall and floor Remove all proective film from the visible surface Clean the champagne gold finish with a soft cloth to remove fingerprints Quality Check Verify all sections are securely fastened with no gaps Ensure uniform height and alignment throughout Confirm corner joints are tight and aesthetically clean Previous Post The Architectural Edge: Why Stainless Steel Trims are the Silent Heroes of Modern Design Next Post Stainless Steel T-Profile Transition Trim Collection